鑫景福致力于滿足“快速服務,零缺陷,輔助研發”PCBA訂購單需求。

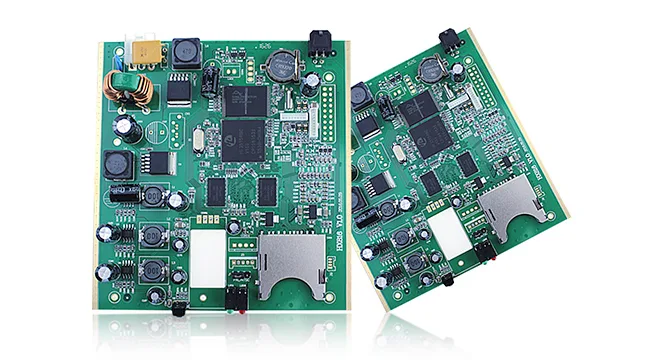
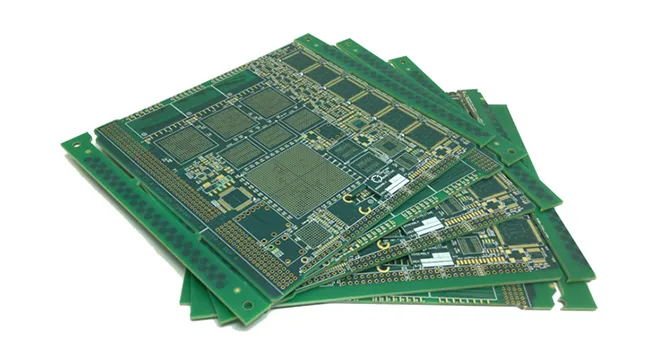


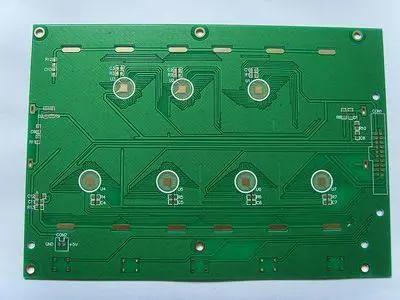
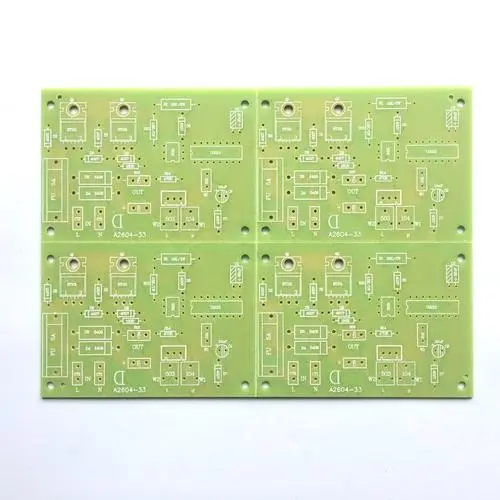
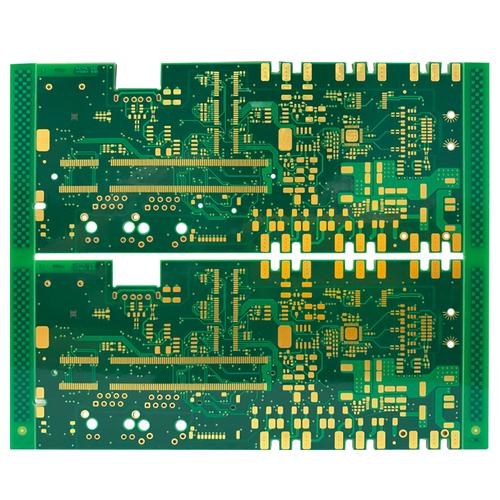
PCB制造
PCB surface treatment: After the drilling is completed, there will be residual copper foil burrs on the PCB surface attached to the through hole surface. At this time, touching the board surface with your hand will cause a rough feeling. These burrs will affect the PCB electroplating quality, so they must be removed. PCB surface treatment steps are as follows: 1
1、 PCB surface treatment:
After the PCB drilling is completed, there will be residual copper foil burrs on the PCB surface attached to the through hole surface. At this time, touching the PCB surface with your hand will cause a rough feeling. These burrs will affect the electroplating quality, so they must be removed. PCB surface treatment steps are as follows:
1. Use 400 MESh fine sandpaper or steel wool to brush the PCB surface roundly until the PCB surface is smooth.
2. Place the PCB under the light source to check whether any hole is plugged. If yes, use compressed air to spray out the impurities in the hole to prevent the hole from being plugged without conduction after electroplating. (If there is no compressed air, use a bit slightly SMAller than the hole diameter to remove debris)
2、 Silver glue through hole:
Since the hole wall of the base plate after drilling is not conductive and cannot be directly plated, it is necessary to carry out the step of through hole silver filling glue first to make the silver glue adhere to the hole wall for through hole electroplating. The steps of through hole silver filling glue are as follows:
1. As the silver glue will precipitate after standing, shake it evenly before use to facilitate the next step.
2. PICk up the PCB so that it is about 30 degrees from the desktop, and use a scraper (about 10cm in the size of a long strip × 5cm, which can be cut from the edge of the base plate) Move back and forth in the perforated area of the board surface after being stained with silver glue to scrape the silver glue into the hole. After one side is completed, proceed to the other side.
*The method to confirm whether the silver glue scrapes into the hole is as follows:
(1) When the scraper passes through the hole, a layer of silver glue film can be seen in the hole, which means that the silver glue has been poured into the hole
(2) After the whole board surface is penetrated, turn over the PCB to check whether all holes have silver glue overflowing from the hole edge, and then continue the penetration operation on the other side. The operation method is the same as above.
3. Use compressed air to blow out the silver glue plugged in the hole, leaving only an appropriate amount of silver glue attached to the hole wall. (Note that the air pressure should not be too high to avoid all the silver glue being blown out; if PCB equipment without compressed air can use a vacuum cleaner to suck out the silver glue, the same effect can be achieved).
4. Clean the rag to remove the excess silver glue on the board surface. Wipe the excess silver glue as much as possible to avoid that it will take more time to remove the silver glue after the following drying steps.
*If toilet paper or other PCB materials are used without rags, it must be ensured that the peeLED fibers do not plug the holes. If any, they can be removed with thin wires.
5. Check whether there is silver glue on each hole wall, and there is no excess silver glue blocking the hole. If there is a hole blocked by silver glue, clear it with thin wire.
*When checking whether there is silver glue on the hole wall, place the PCB in the bright place and tilt the board slightly, so that the hole wall can be seen. If there is silver glue attached, the hole wall can reflect light.
6. Put the PCB into the oven for baking at 110 ℃ for 15 minutes. The purpose of baking is to make the silver glue really harden and adhere to the hole wall. The oven can be used for ordinary household use. This step involves the adhesion of copper in the hole. After that, take out the PCB from the oven and let it cool at room temperature.
7. Use 400 mesh fine sandpaper or steel wool to comprehensively brush back and forth on the PCB surface, and remove the silver glue hardened on the PCB surface until the PCB surface is smooth. The baked PCB is brown. Use fine sandpaper or steel wool to remove the conductive ink hardened on the PCB surface. The cleaned PCB surface should have copper metallic luster; If the silver glue on the board surface is not removed completely, the adhesion of the plated copper on the surface after electroplating is poor, and the copper surface may peel off or the surface may be uneven, which requires special attention.
1. Immerse the PCB in the water tank or flush it directly, so that the hole wall can be fully wetted. After wetting, pay attention to that there are no bubbles in the hole wall. If there are bubbles, flush again to remove them.
2. Put the PCB into the electroplating bath, and hold the PCB to swing back and forth in the bath (about 10 times) so that the hole wall is completely wetted by the electroplating solution.
3. Fix it in the center of the slot with a dovetail clamp. Take the A4 size PCB as an example, the electroplating current is 3.5A, and the electroplating time is 60 minutes.
*In order to obtain better electroplating quality, it is better to place the board in the center of the electroplating tank, while the crocodile clip (black) of the cathode is clamped in the center of the crossbar, so that the concentration of the electroplating solution and the electroplating current can be evenly distributed to all parts of the PCB to obtain better electroplating quality.
4. It is recommended to set the current according to the size of PCB.
5. After electroplating, take out the PCB, rinse it with clean water and blow it dry to avoid PCB surface oxidation.
6. After electroplating, use 400 mesh fine sandpaper or steel wool to conduct comprehensive back and forth grinding on the PCB surface until the PCB surface is smooth, so as to level the bumps and dents generated during electroplating to avoid errors in plane detection during PCB engraving.
7. Move the board to the PCB engraving machine to make the circuit.


抖音二維碼

Q Q二維碼

微信二維碼
點擊
然后
聯系
然后
聯系
電話熱線
13410863085Q Q

微信
- 郵箱